
Table of Contents
How to get the CINEMATIC LOOK in Premiere Pro Tutorial
นอกจากการดูบทความนี้แล้ว คุณยังสามารถดูข้อมูลที่เป็นประโยชน์อื่นๆ อีกมากมายที่เราให้ไว้ที่นี่: ดูเพิ่มเติม
My best Cinematic LUTs to speed up your Color Grading!
🎥 Get the Film Look (30% OFF) ► https://store.christianmategrab.com
📷 My Lightroom Presets ► https://bit.ly/LightroomPresetsCollection
Cinematic LUTs for Canon Cameras like the Canon 5D Mark IV, EOS R, EOS R5, EOS R6
► https://bit.ly/LUTsForCanon
Cinematic LUTs for Sony Cameras like the Sony A7III, Sony a6500, Sony a6300, Sony A7SII
► https://bit.ly/LUTsForSony
Cinematic LUTs for Panasonic Cameras like the Panasonic Lumix GH5, GH5S, S1, S1H
► https://bit.ly/LUTsForPanasonic
If you’re looking for a faster checkout with Paypal or Credit Card (US Customers) check out my Sellfy Store where you can find a lot of Bundles, Cinematic LUTs, Lightroom Presets and more Filmmaking Assets with huge Discounts up to 50%.
► https://sellfy.com/christianmategrab
______________________________________________
🎞 HOW TO USE LUTs ON YOUR VIDEOS
You can use LUTs in almost every Video editing software like Adobe Premiere Pro, Final Cut Pro X or DaVinci Resolve or any other program that supports 3D .cube files. In most programs you can do so by adding a LUT Effect to your clip and then add the .cube LUT to your footage. No matter which camera you are using, my Cinematic LUTs work with almost any mirrorless camera like the Sony A7SII, Canon EOS R, EOS R5 or Panasonic S1.
In this way you can improve your color grading and aesthetics while also saving a lot of time at color grading your videos. Find out more about how LUTs work here:
► https://store.christianmategrab.com/pages/colorgradingwithluts
______________________________________________
🎥 MY FILMMAKING AND PHOTOGRAPHY GEAR
Beginner Setup on Amazon
► https://bit.ly/BeginnerSetup
My Canon Filmmaking Setup on Amazon
► https://bit.ly/CanonFilmmakingSetup
______________________________________________
🖥 CHECK OUT SOME OF MY OTHER VIDEOS
How to get the Cinematic Look in Adobe Premiere Pro
► https://youtu.be/xQJfFLJufYw
LIVE FOR THE MOMENT | Portugal Road Trip
► https://youtu.be/ziVb5HzzsuM
Yung Sony „12Bit RAW“ Music Video | Shot on the Canon R5
► https://youtu.be/Tkzb6ZAfCwU
______________________________________________
Using LUTs in Premiere Pro
In Adobe Premiere Pro it’s even easier to apply a LUT to your footage. Simply select the clip or adjustment layer in your timeline that you want to add your look to and click on the COLOR TAB in the upper menu. This opens up LUMETRI COLOR on the right side of the program which lets you change all kinds of settings for color grading your videos.
If you want to add a stylized look you should select your .cube LUT in the CREATIVE TAB under LOOK. If you first need to convert your footage to the Rec.709 color space (for example if your footage is shot in a flat picture profile like LOG) you should add your conversion LUT to the BASIC CORRECTION.
______________________________________________
Using LUTs in Final Cut Pro X
If you want to use LUTs in Final Cut Pro you need to search for CUSTOM LUT within the Effects tab and drag it over onto your clip or adjustment layer. FCPX does not include native adjustment layers but don’t worry. You can download my FREE ADJUSTMENT LAYERS for Final Cut Pro X.
After applying the effect you can find the Custom LUT tab within the Video Inspector as shown above. There you can select your LUT and change the color space as well as the Mix which is basically the intensity of your LUT. For example: If your image is too contrasty, lower the Mix to 70% to decrease the LUT intensity.
Học dựng phim bằng Adobe Premiere Pro CC 2020 trong 60 phút | Tú Thanh Blog
Cùng Tú Thanh Blog học dựng phim Adobe Premiere Pro CC 2020 trong 60 phút
🔥Tham gia khóa học Dựng video cơ bản với Tú Thanh tại Hà Nội: https://tinyurl.com/n8vr84pu
➡Học liệu: https://bit.ly/2xizVH8
➡Hiệu ứng chuyển cảnh làm phim Warp Zoom trên Premiere: https://youtu.be/FQHGa_abnls
➡Hiệu ứng chuyển cảnh Premiere Pro Spin Transition: https://youtu.be/0K0T67pJzog
➡Chuyển cảnh Smooth Rolling Transition Premiere Pro: https://youtu.be/7sNhHi2GHzw
➡3 Cách Phóng To Video trong Premiere | Hiệu ứng Zoom trong Premiere: https://youtu.be/ToDZom1W0Pc
=========
✌️My Gear:✌️
➡Sony a6300
➡Sony A7
➡Sony A7III
➡Sony 18 105 F4
➡Sony 70 200 F2.8 GM
➡Sony 24 1.4 GM
➡Sony 1650 kit lens
➡Rokinon 12 F2.0
➡GoPro Hero 7 Black
➡Mavic Pro 2
➡Mavic Air
➡Rode Pro Mic
➡Ronin S
=========
✌️Follow team Tú Thanh✌️
➡Youtube: http://bit.ly/35P7pIn
➡Fanpage: http://bit.ly/38Zp6XU
➡Cộng đồng After Effects Việt Nam: https://tinyurl.com/y749cvyj
➡Học dựng phim với Adobe Premiere: http://bit.ly/3pjLza6
➡Học nhiếp ảnh và chỉnh ảnh với Lightroom: http://bit.ly/3nR3zZg
=========
✌️Liên hệ hợp tác✌️
➡ Facebook: https://www.facebook.com/vientuthanh
premierepro dungphim tuthanhblog
การดูดสีพื้นหลังสีเขียวด้วยโปรแกรม premiere
การดูดสีพื้นหลังสีเขียวด้วยโปรแกรม premiere pro cc 2018 ลองทำกันดูจ้า

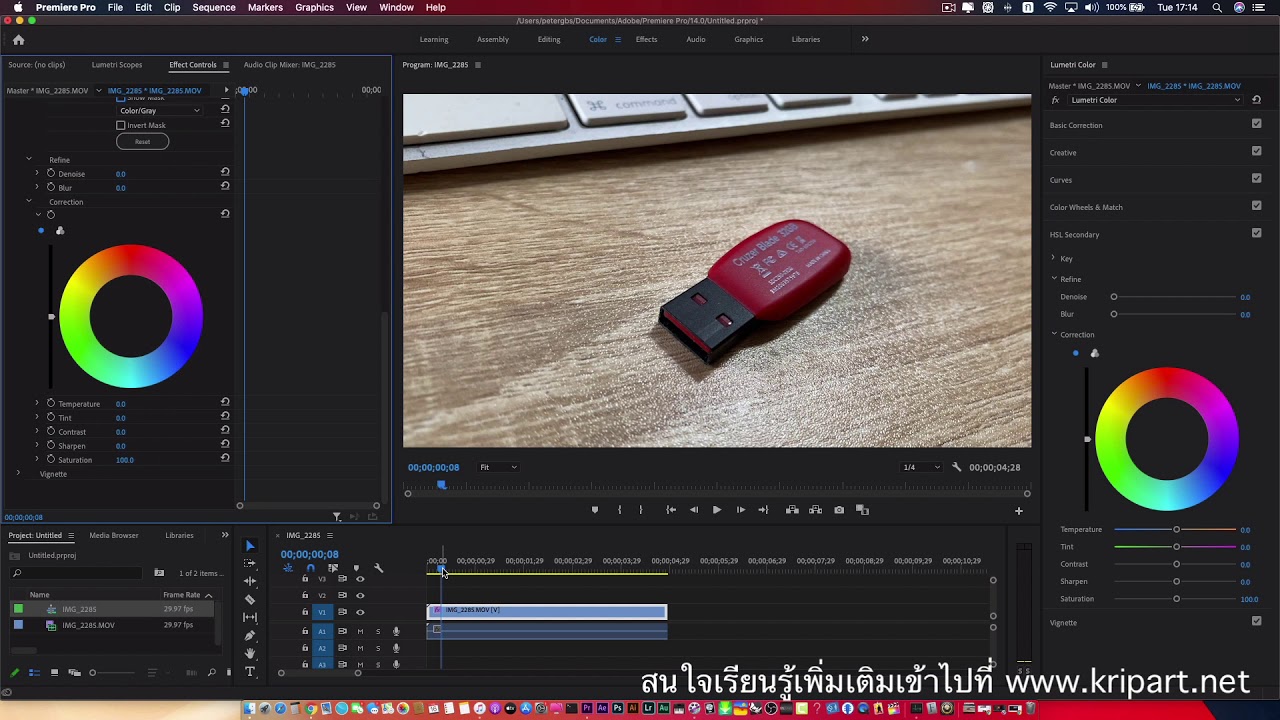
เปลี่ยนสีวัตถุใน VDO ด้วย Premiere Pro CC2020 | สอนตัดต่อ Premiere Pro
สอนตัดต่อ คลิปนี้ผมจะมาแนะนำวิธีการเปลี่ยนสีวัตถุในคลิป VDO แบบง่าย ๆ ให้นะครับ หวังว่าคงทำตามกันได้นะครับ สำหรับใครที่อยากเรียนรู้เพิ่มเติมโปรแกรม สอนตัดต่อ Premiere Pro CC ตั้งแต่พื้นฐานเลย ก็สามารถเข้าตามเว็บไซต์ข้างล่างได้เลยครับผม มีโปรดี ๆ สำหรับผุ้รักการเรียนรู้ให้นะครับ ขอให้สนุกกับการเรียนรู้ครับผม
สนใจสมัครเรียนคอร์สออนไลน์กับโค้ชปุ้ย PeterGBS มีหลายคอร์สให้เลือกเรียน สามารถเข้าชมรายละเอียดได้ที่
http://www.kripart.net ครับ
สวัสดีครับผม PeterGBS และนี่คือช่องสอนเทคนิคการแต่งภาพ และคอมพิวเตอร์กราฟฟิคที่ถ่ายทอดจากประสบการณ์ของผม ขอบคุณทุกคนที่ติดตามและให้กำลังใจนะครับผม
► ติดตามช่อง : https://goo.gl/F8qhv3
► Facebook Fanpage : https://www.facebook.com/freetutorbyp…
🔥 ติดต่อสอบถามได้ที่ : https://www.facebook.com/petergbs
ขอบคุณที่เข้ามารับชม เชิญติชมและคอมเม้นด้านล่างนี้ได้เลยครับ
หากคลิปนี้มีประโยชน์อย่าลืมกด Like และ Subscribe เพื่อเป็นกำลังใจด้วยครับ
ต่อตามเพจสอนแบบฟรี ๆ ของผมได้อีกช่างทางในเพจ
https://www.facebook.com/freetutorbyp…
🔥 Update คลิปใหม่ทุกวัน 🔥
สอนกราฟฟิก
kripart
คอร์สกราฟฟิกออนไลน์
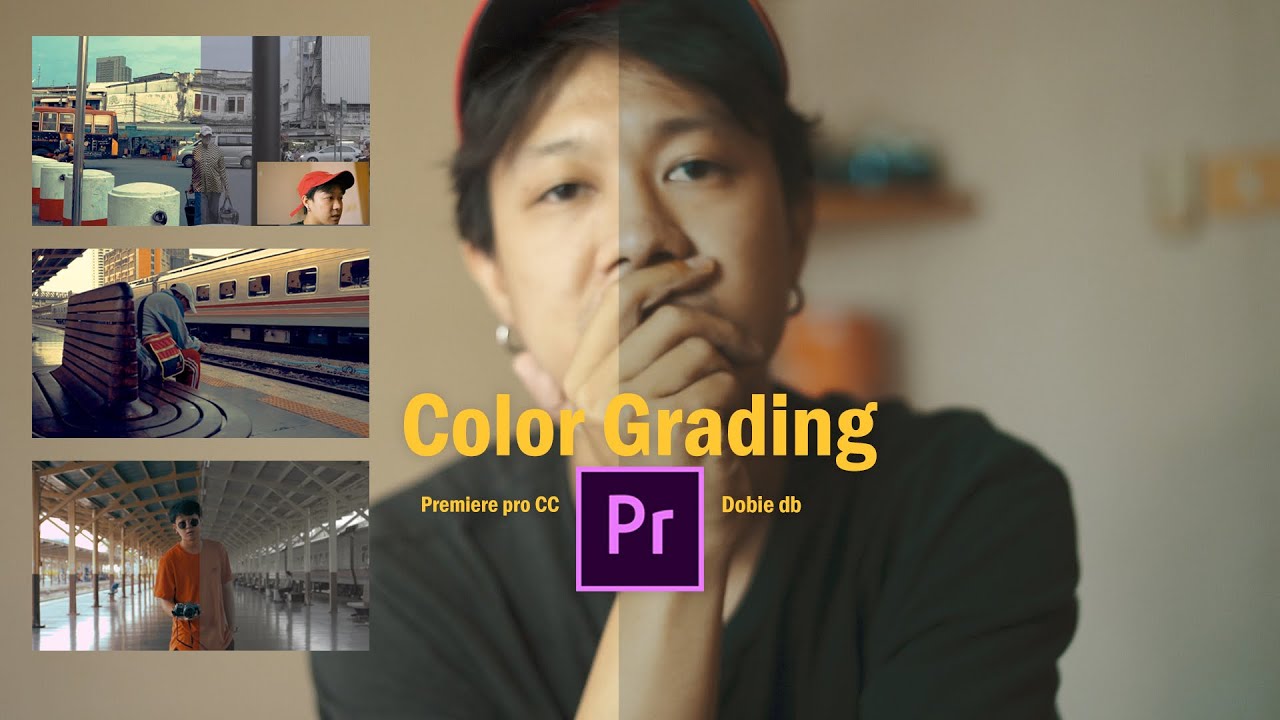
วิธีทำ Color grading ทำสีวีดีโอ แบบง่ายๆ ด้วย Premiere pro CC
วิธีทำ Color grading ทำสีวีดีโอ แบบง่ายๆ
กด sub ตรงนี้ด้วยนะครับ : https://www.youtube.com/c/Dobiedb
Free download Luts :
https://drive.google.com/file/d/1S8UVHXlysOEYBqDiVLyTKAIawUhGOHj/view?usp=sharing
https://drive.google.com/file/d/12mT5VQsqje6yn07q2ddIU6mqLG5DqA4/view?usp=sharing
https://drive.google.com/file/d/1lR78uGVKZ5aCf5Ku40LVm25dJNO6zmM/view?usp=sharing
▶ Follow me on Instagram : https://www.instagram.com/dobie.db/
🔽 Follow me on Facebook https://www.facebook.com/dobietangchobtam
นอกจากการดูหัวข้อนี้แล้ว คุณยังสามารถเข้าถึงบทวิจารณ์ดีๆ อื่นๆ อีกมากมายได้ที่นี่: ดูบทความเพิ่มเติมในหมวดหมู่GAME
557803 290438Today, I went to the beachfront with my kids. I found a sea shell and gave it to my 4 year old daughter and said “You can hear the ocean if you put this to your ear.” She put the shell to her ear and screamed. There was a hermit crab inside and it pinched her ear. She never wants to go back! LoL I know this is entirely off topic but I had to tell someone! 840074
784103 745826Just a smiling visitant here to share the really like (:, btw outstanding style . 210281
988077 877088Slide small cooking pot within the cable to make it easier for you to link the other big wooden bead for the conclude with the cord. 947317